Over Easter we spent some more time working on our new/old house. If you haven’t been following this story, here’s a recap.
In December 2012, Pete was messing around on a real estate website and found a removal house for $10,000. First we joked about how it must be really awful inside, but then we looked at the photos and it really wasn’t that bad, so we asked for an inspection, and then we made an offer, and we nearly missed out because so many other people wanted the house too, but it all worked out in the end. Then began six months of organising with the council and the house removal people to get the house moved 14 km from its current position to our property at Cheslyn Rise. We also had to clear a pad for the house, including cutting down some massive trees and getting their stumps dug out. Finally the house arrived in July 2013, in two pieces, over two nights, and the removalist worked for several weeks to put it back together and put the roof back on. Here's my
post about the costs of moving the house, and here's the post about the
house actually on the move.
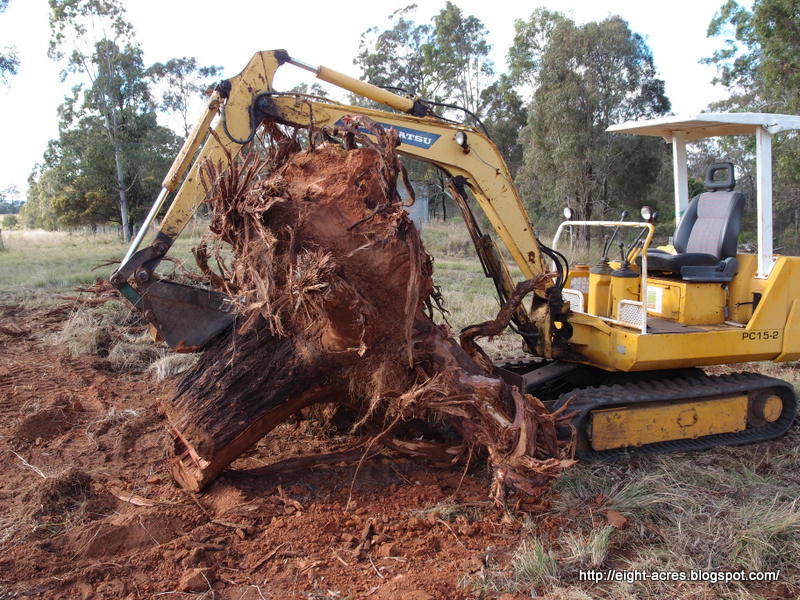 |
| removing the largest stump |
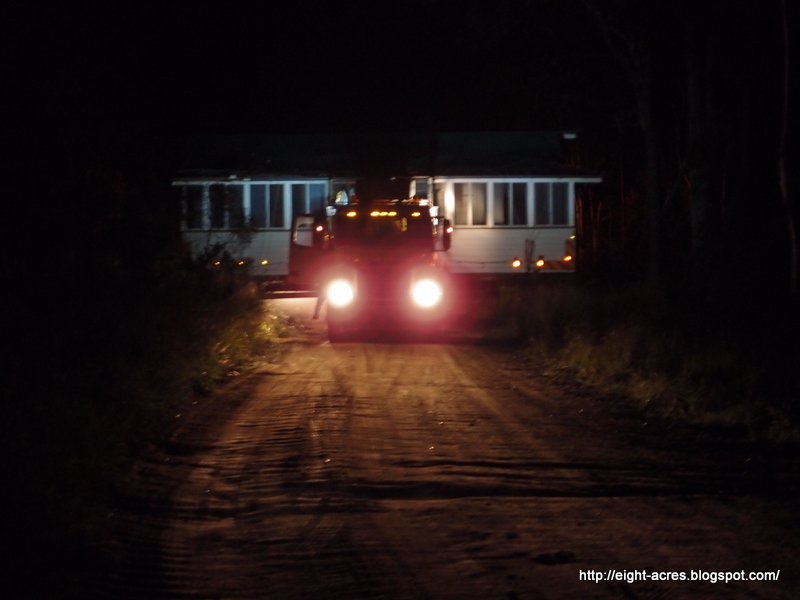 |
| Moving house |
 |
| half of the house arrives |
When the removalist was finished, we had a plumber come and set up our rainwater tanks, new septic system and re-do all the old plumbing. Then we helped our electrician friend remove all the old wiring and switches and install new electrical work all through the house (including my lovely fans). All the while we were also working on the
three sets of stairs around the house. Then I gave you a
tour inside the house to see the good, the bad and the ugly features that we had to work with.
 |
| The house when the removalist was finished |
 |
| rainwater tanks arrive (we have no town water up here!) |
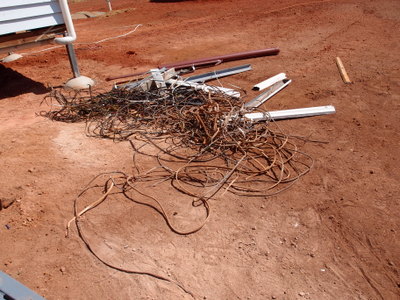 |
| Some of the old electrical wiring |
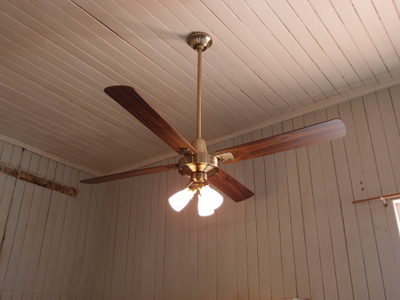 |
| Lovely new fans |
 |
| New stairs |
We had the building inspector come out recently and give us his opinion on what else needed to be done before he was happy with it (and then he sent us a letter to say we have to finish it by July 2014 or else more fees, and we have paid enough fees, so that was some motivation to get it done). In Australia, the building inspector is mainly concerned with whether the house will fall down and whether it will burn down. He needed us to complete cyclone strapping (essentially this is just adding straps, bolts or brackets to attach the walls to the roof and the floor to ensure that the house can’t blow over, even though the house had stood for 100 years in its previous location without blowing away, this is just the modern standard, you don't want to get me started on this topic, but we have been lucky that the building inspector has been very reasonable about some of the difficulties of bringing an old house to modern standards) and to finish off any exposed timber.
In terms of the house burning down, he was worried about the location of smoke alarms, and our woodstove, as we couldn’t prove how it was installed. We tried to get the manual from the manufacturers, but I have to admit I didn’t try really hard because I wasn’t convinced that I wanted to keep that woodstove. You know I love to
cook on my woodstove and that one was not a cooker, so in the end we invited our neighbours to help dismantle it and gave it to them because they needed a woodstove and hadn’t really charged us enough for the electrical work. Pete found the bits of wood that had been cut out of the ceiling for the flue and replaced them, so now there is no woodstove until building approval is completed, and then we will decide which woodstove cooker we want to install instead.
 |
| The woodstove (and that awful RED carpet) |
We also needed to complete all the environmental requirements, which included insulation and fans. We were still debating whether to get the roof replaced and do the insulation then or install it first, but as we couldn’t get any roofers to return our calls, we started working on the insulation (we chose fibreglass, see my post about insulation
here, it wasn't too hard to install, but we did wear paper overalls, dust masks and safety glasses, lucky we were able to wait for a cool day to work up there).
 |
| Plugging up the holes in the wall with dowel, this is where a switch used to be |
 |
| Insulation in the ceiling cavity, tick! |
Everyone keeps asking if we’ve moved in yet, or when we are moving in. No, we are still living at Eight Acres at least until the building approval is complete, and then we would really like to get at least some of the inside painted and fixed up before we fill the house with furniture! It all depends how soon we are ready to put Eight Acres on the market and how long it takes to sell, I certainly wouldn’t turn down a good offer just because the house isn’t ready, but at the same time we are not in a mad rush either. Maybe 6-12 months, maybe longer if something unexpected happens. We really need to put up a shed for all Pete's tools, last time we moved it took two shipping containers, and one was filled with shed stuff, the other with house stuff!
Over Easter my parents come to stay and helped us with the house. Dad and Pete finished most of the strapping, and mum helped to scrape, sand, putty and paint the holes in the weather boards where things had been removed. Dad also very patiently used dowel to fill all the holes in the wall left by the old electrical wiring. I just followed Pete around and fetched tools and held ladders and offered my wifely opinion on how things should be done (not always well received). We removed the woodstove and started the insulation and did various tidying up jobs. We also pulled up the corner of that awful red carpet in the lounge and found some more carpet (which explains why its so plush) and then some rather nice floor boards underneath it all. The floor will be the last stage after we have painted the ceiling and the walls, so that is something to look forward to!
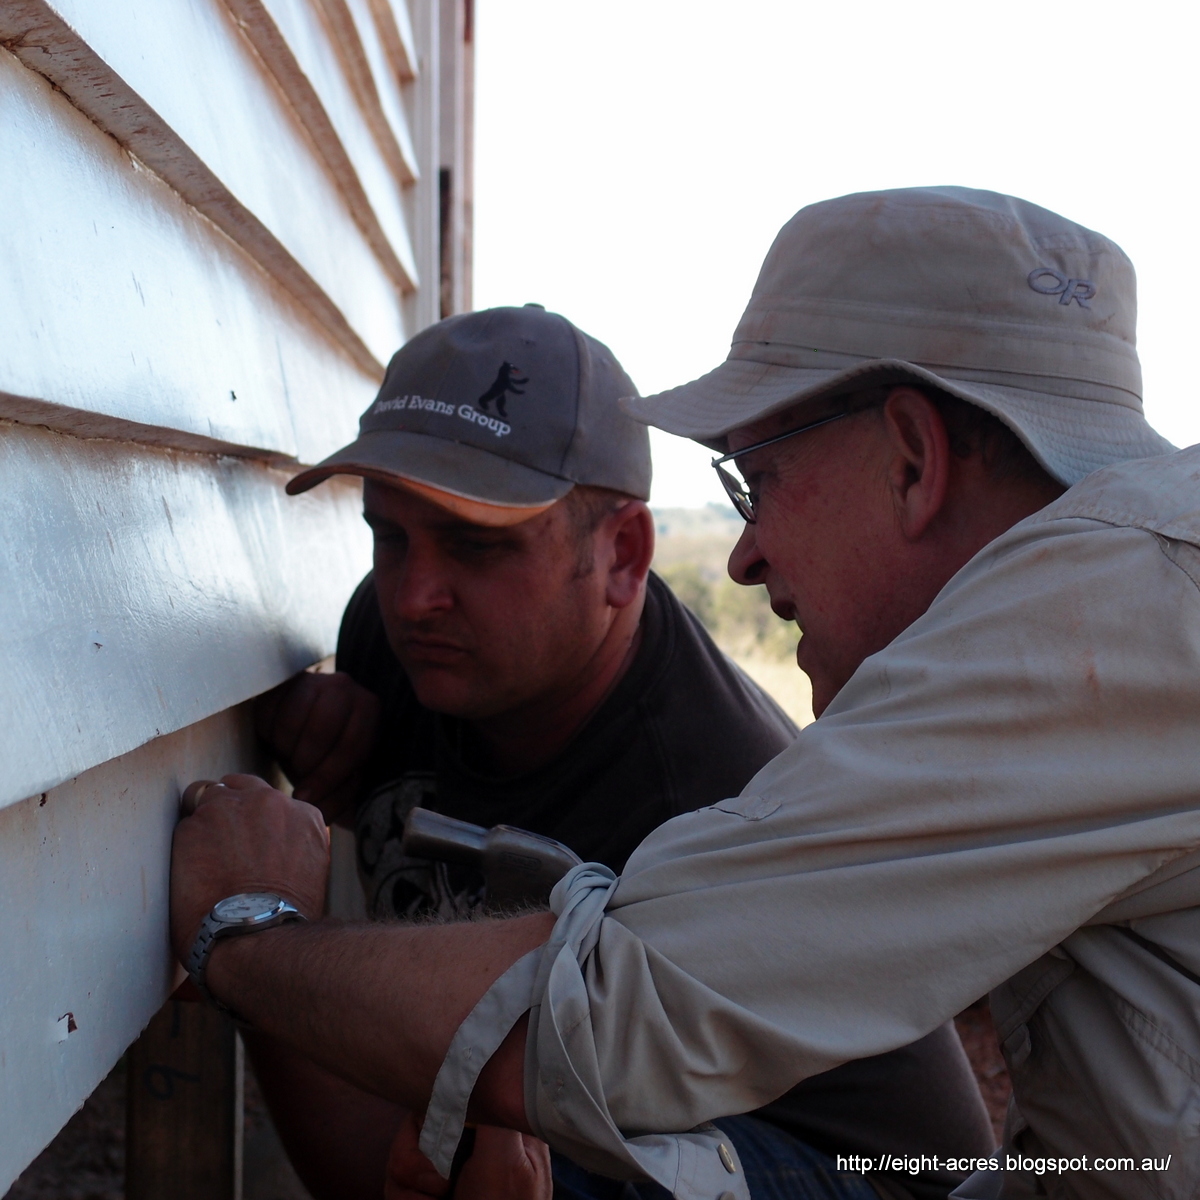 |
| Pete and dad replacing weather boards after strapping |
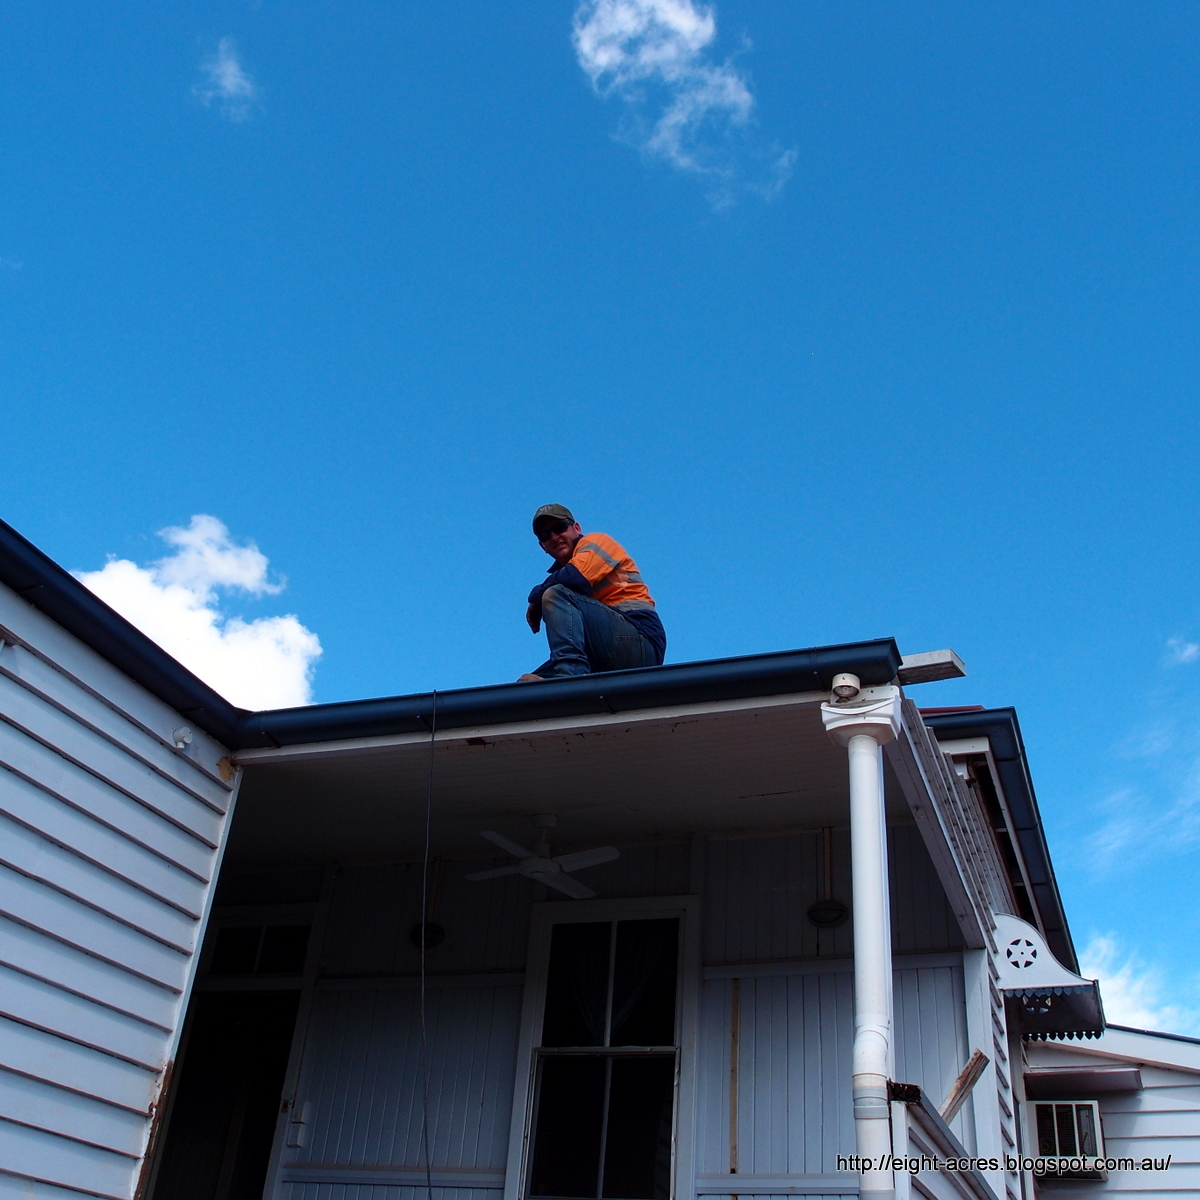 |
Pete putting insulation under the veranda roof
(required by the environmental approval, also the fan, on a veranda that gets a constant breeze,
but I'm sick of arguing with bureaucrats so we just did as we were told) |
 |
| Mum painting |
 |
| the floor boards under the woodstove - something to look forward to |
If you are interested in renovation of Queenslanders, here are a few good blogs that go into far more detail than I do:
Fun and VJs (especially
this post with even more reno blogs)
The Old Post Office - Edwina and Dan got started on their Queenslanders just before we bought our little house and I actually showed their blog to Pete as an example of a house that was in worse starting condition than what we were considering buying (although they did get some lovely pressed-metal ceilings and I know its going to look lovely when they're finished, I just dread all that work)
No Small Dreams - the build is finished, but there are still lots of great links and information on this site
Overall, we are trying to establish a
low energy house using recycled and secondhand materials where possible, and ethical choices for the rest. So far it has worked out pretty cheap compared to a new house and allowed us to spend more on things that we want, like good quality fans and insulation. We have some big jobs ahead, including deciding what to do about the asbestos in the bathroom and the layout of the kitchen. Its a fun project and we are lucky to be able to do a little bit at a time, but I think we will both be very happy when we finally get to move in.

That's a lot of work. Congrats that you have all gotten this far! If you want another blog link about moving Queenslanders, I came across this one years ago:
ReplyDeletehttp://deliveredandstumped.blogspot.com.au/
They haven't done a pots in over four years, but that's probably because they moved in, had another kid and (I imagine) just wanted to get on with regular life. But the process of how they went from go to wo, costs, etc are all explained.
Thanks Chris! Lots of good info on that link :)
DeleteLooks like you're doing a great job. I know you've got red tape but it's a lot less than over here in the UK! Still annoying though. The trouble is very think everyone lives the same way and can't see when people are trying to live differently. I'm jealous that you can move a house like that!
ReplyDeleteThanks Kev, yes I imagine its nothing compared to some UK regulation (I admit that I love to watch Restoration Home etc and the red tape around heritage buildings must drive you mad! Our house is only 100 years old....).
DeleteWow, what a project! Congrats on your new place, looking forward to following your journey!
ReplyDeleteYour house is looking great! Thanks for sharing on The HomeAcre Hop! Hope to see you again today :)
ReplyDelete